These basic Techniques will improve your painting fast
In the past, I believed painting was solely built on being inspired, starting to paint, and if you are talented, the result would be a beautiful picture. Today, I have to smile when I think of the naive presumptions my younger self had in her head.
But it wasn’t entirely my fault, because nobody taught me to see how planning, knowledge, and the right painting technique belong to a great painting.
When it comes to watercolor landscapes, there are two main techniques you should be familiar with. If you want to improve your paintings fast, be sure you understand these techniques. So let me introduce them alongside some examples:
Wet-in-wet Technique
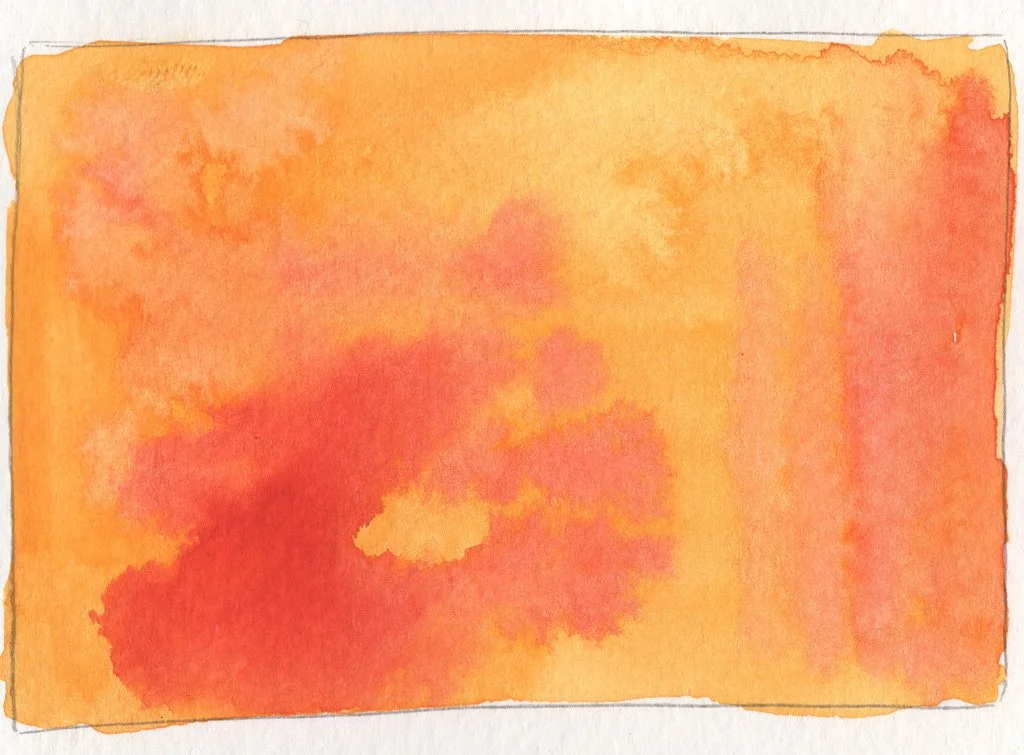
The obvious way to use the wet-in-wet technique is to apply one color onto the paper and add another color, while the first is still wet.
This way, both colors fade into each other, mixing on the paper. This is less controllable, but you create these wonderful effects, which watercolor is famous for.

However, you can also use the wet-in-wet technique in a slightly different way. Therefore, apply some clear water onto your paper. Dip some color into the wet surface, and the paint will be carried through the damp area.
You get a similar effect to the first technique, but the color stays the same; it won’t mix with another color.
Wet-on-dry Technique

With the wet-on-dry technique, you work on dry paper. Your color is wet, the paint mixed with water. This way of applying the paint gives you way more control, and you can create clear lines.
The paint will stay where you set it on the paper and depending on the brush you use, you can create very fine details.
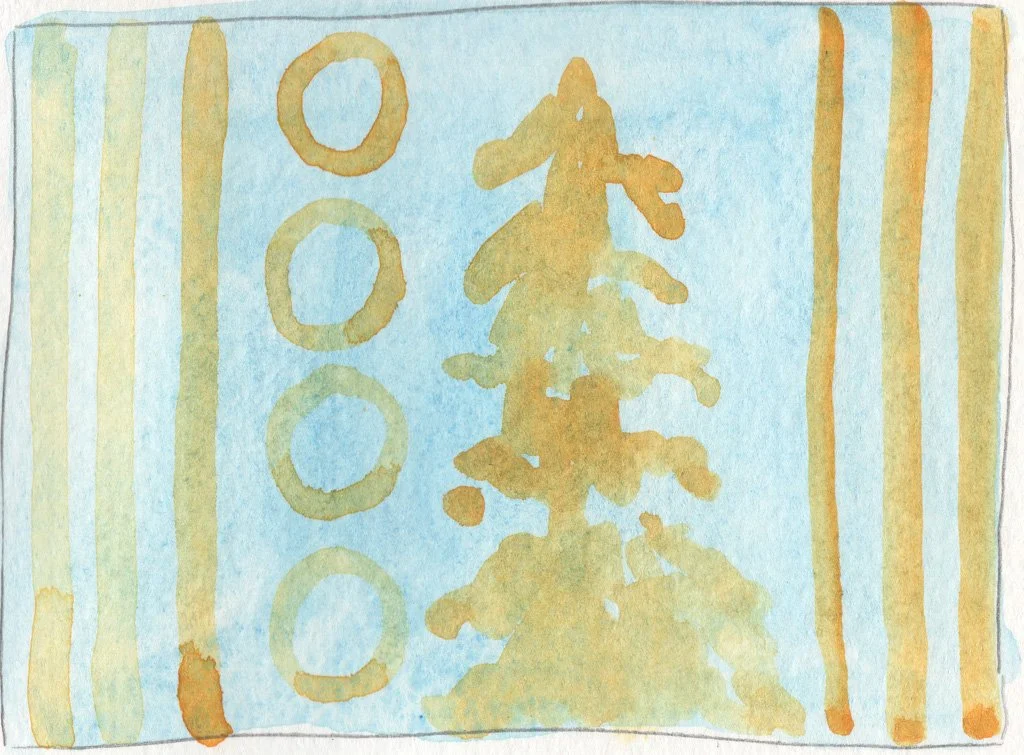
Of course, you can’t only use this technique on white paper; you will mainly use it on already painted areas.
Here you have clear lines but also the layering effect, because your colors are transparent, and even though they don’t mix physically, they mix optically. In example 3 I used the same color, but in example 4, it looks different due to the color lying underneath.

I'm sure you have heard of these techniques before, and if you have already tried watercolor, you have used them as well. But it's not only about knowing them, it's about when to use which technique.
To make the right decision, always ask yourself if you need clear lines or smooth transitions. Because this is the main difference: With wet-in-wet, you avoid sharp edges, with wet-on-dry, you create clear lines.

This little island sitting on a lake in Finland is a great example to see the difference. I painted the Island itself with the wet-on-dry technique. The trees and the rocks at the bottom are clear and sharp.
But for the reflection on the water, I used the wet-in-wet technique. I applied the light blue color for the lake and dipped some darker color into the still-damp area to create the reflection with soft egdes.
To immediately improve your paintings, get more familiar with the basic techniques and, most of all, when to use which. Always remember the difference between sharp edges and smooth areas of color.
Put it into practice
Put into practice what you’ve just learned.
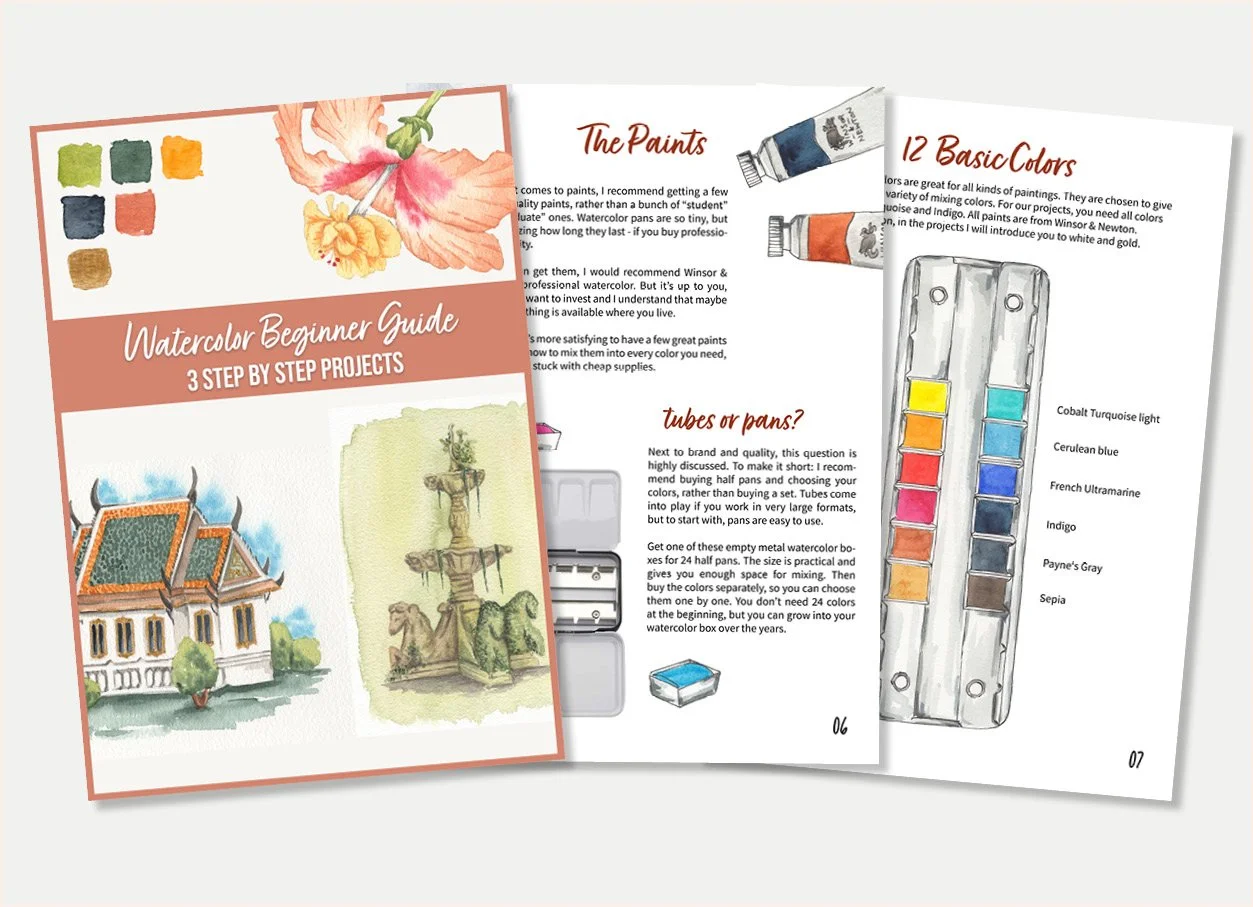
Enjoy these beautiful step-by-step paintings. From the best material to color mixing, everything you need is covered.
The best? In the Guide, you’ll find a drawing template you can print and transfer to your watercolor paper.
When joining the “Watercolor Magazine” Newsletter, you get this PDF Guide as a Welcome Gift.
You will join the free “Watercolor Magazine Newsetter”. You can unsubscribe anytime. Your Data is 100% safe.
In the Guide you get…
Tip for the best Watercolor supplies
Colors Mixing
Step-by-step with pictures & text
printable drawing template